


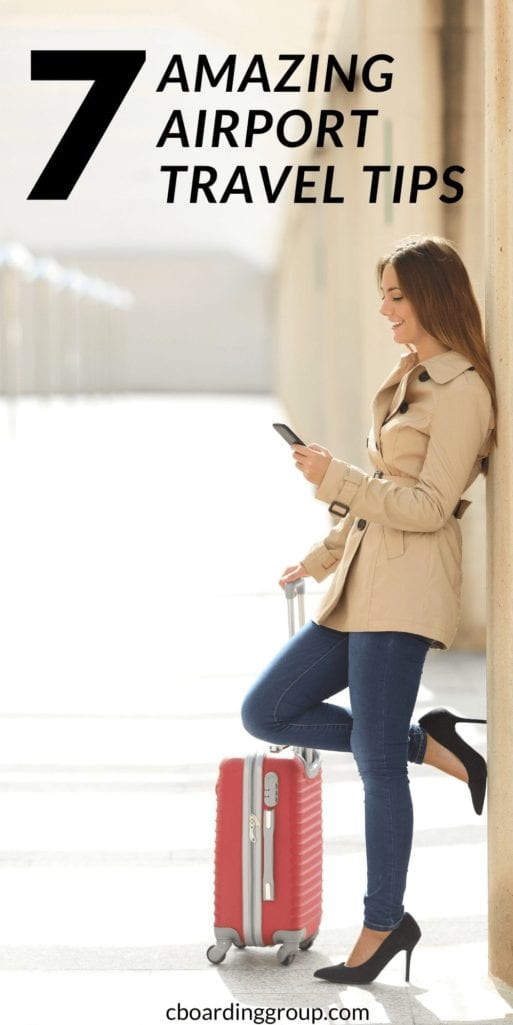
If you want to avoid the headache and hassles of the airport read on. We’ve assembled the 7 best Airport Travel Tips ever uttered. These airport tips and tricks are specifically designed to optimize your experience at the airport. If you follow these simple, but effective methods, your time at the airport will greatly improve, your stress levels with decrease, and you might actually enjoy yourself!
Let’s begin.
Airport Travel Tips and Tricks – overview
First, picture yourself heading to the airport.
You’ve planned out an amazing vacation or you are thrilled because it’s your first business trip to New York City. But on the way to the airport you hit traffic. When you arrive, you can’t find a cheap place to park your car and the parking shuttle takes way too long.

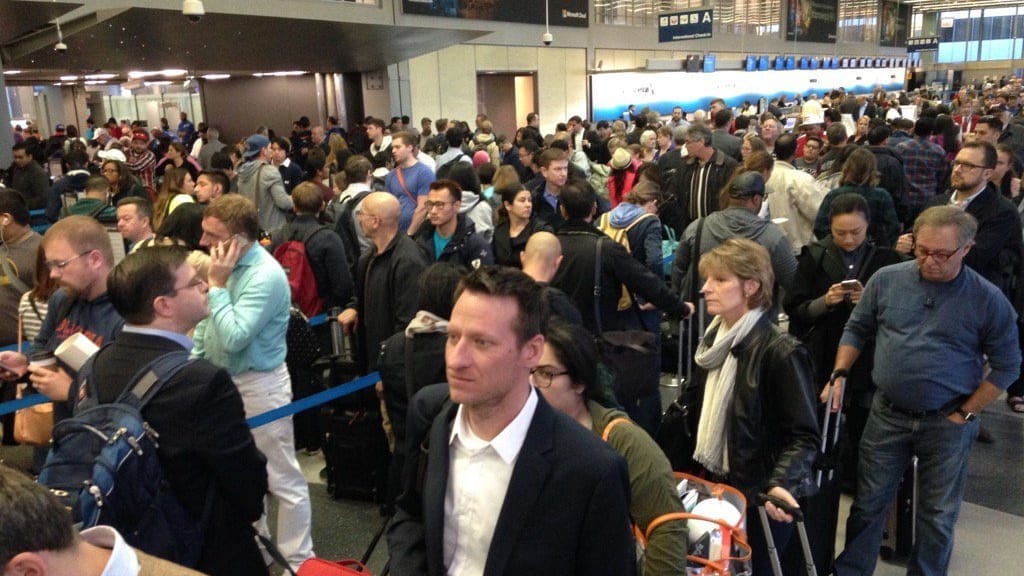
You rush to check your way-too-heavy-bag and find yourself waiting in line with 53 other travelers doing the same thing. Finally, you get to the security line only to find it’s a 45 minute wait. But, you only have 45 mins to get to your gate!
As you stand at the gate watching your plane pull away from the jetbridge you mutter to yourself “…shoulda finished reading that guide on optimizing your airport experience.”
That’s right. You are a bit of a rookie…and that’s ok. You just need some practical airport travel tips.
7 Airport Travel Tips to Optimize your Airport Experience
Before we do a deep dive on the various airport tips and tricks, here’s a quick high-level summary:
- Give yourself some time
- Do some airport reconnaissance
- Get your parking situation sorted out
- Sign up for TSA Precheck
- Learn the security checkpoint process
- Don’t Check a Bag
- Square away your luggage
Ok, let’s dig into these Airport Travel Tips already starting with an important one, time!
Airport Travel Tips #1: Give yourself some time

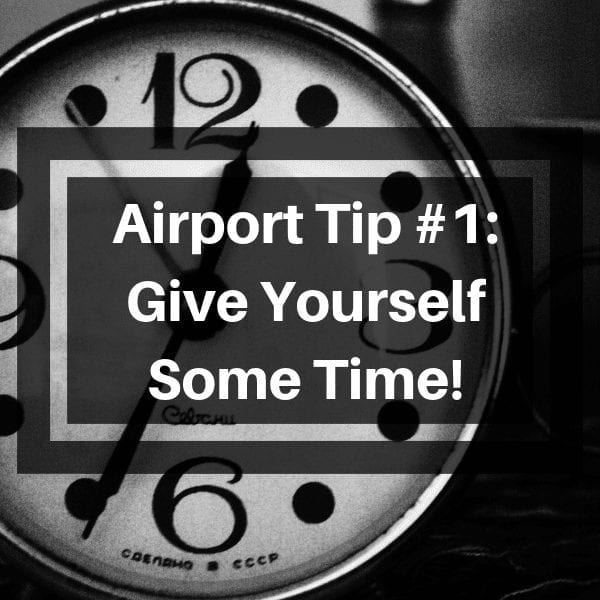
Airport Travel Tips #1 – Give Yourself Some Time!
When you are a seasoned road warrior with plenty of trips under your belt and enough experience with the common major airports this is less of a big deal. But if you are a rookie or traveling with your family you need to give yourself some time. Especially if you don’t know much about the airport and if you are checking your bag.
It might take you longer to get parked and get to the airport, or longer to get your bag checked, or the security line might be nuts. If you are a rookie…give yourself 2 hours for a domestic flight.
When you get some business trips under you belt you can shorten than and come screeching into the airport on two wheel with 40 minutes to spare and be just fine. Yeah…I’ve done that. Talk about stress! 🙂
Pin me for later:

Airport Tips and Tricks #2: Do some airport reconnaissance
Every airport has its own idiosyncrasies. Over time, you will “know” what to expect at certain airports. Some have really smooth security checkpoints, others are known for being slow in security.
Some airports have better food selections outside of security vs. inside. Sometimes you have to switch terminals and if you know the airport you can know what to expect. This is especially true when you flying to a small airport.
The larger connecting airport may have you trekking to some remote outpost for the tinier plane. This is true at places like MSP or DTW. Some airports have off airport rental car facilities, while others are onsite allowing you to quickly drop the car and go. All of this information helps make your trip go a little smoother.
Where you find out information about the airport? You could start with their website. Almost all major (and most minor) airports have their own website (like Ontario’s: https://www.flyontario.com). I even wrote an article about the parking situation at Ontario, AP for example, and there’s lot of of similar content out there.
That should get you started. Then check out social media…it’s likely someone’s been there and done that. Lastly, use good old Google to search for something like “how bad is the security line at Atlanta-Hartsfield Airport). Of course, Quora or Reddit can also be helpful.
PS…you might like the Holiday Gift Guide for Travelers…check it out if you are looking to for a gift for someone who travels this season!
Airport Travel Tips #3: Get your parking situation sorted out


Parking onsite at the airport will usually cost you 2.3 million dollars a day and usually get your company’s bean counters giving you the stink eye. Parking off site is usually cheaper…BUT…now you have to deal w/ a shuttle which adds extra time.
If you’ve been following me for a while now you know that I use ONT airport in Southern California and they have a sort-of-close-walking-distance onsite parking area which is still pretty cheap and allows me to walk to the AP and skip the shuttle. I use it 100% of the time.
When I have to hit the San Diego airport, I’ve found a good garage that has a good shuttle system, w/ regular pickups/drop offs and I’ve learned the process. I know how much to factor in at the start and end of my trips and I plan accordingly. Make sure you figure out the best parking system for your home airport. It will allow you to schedule the timing of your arrival and departure to the airport correctly.
Protip: Double check your traffic situation. Depending on the time of day you are heading to the airport you might encounter traffic. Learn your local traffic patterns and adjust accordingly
Also, you might be interested in this article from us: How to get over jet lag while you travel
Airport Tips and Tricks #4: Sign up for TSA Precheck


Of all the airport travel tips we provide this tip will probably save you the most hassle and be your best investment.
TSA Precheck is a game changer. Even if you don’t travel much it will save you a ton of time going through security. For a small fee (85.00 for 5 years), some forms, and a short interview at an approved government ID check facility + a background check, you can shortcut much of the hassle in the airport security line.
With TSA Precheck you get to leave your shoes on, your laptop in your bag and get your own checkpoint which is often much faster then the rest of the cattle. TSA will issue you a KTN, or Known Traveler Number which you can use when you book your travel to get TSA Precheck added to your reservation and boarding pass. Then…use it!
Protip: Once you get approved for TSA Precheck you will need to go and manually update any existing reservations you have. They do NOT update automatically. I found this out the hard way! And you will need to provide your KTN (Known Traveler Number) that TSA gives you at the time of booking. If you use a corporate booking system they usually have a profile that you can configure and it gets automatically included when they book the flight for you
Airport Travel Tips #5: Learn the security checkpoint process

If you’ve ever seen the movie Up In the Air w/ George Clooney (I love this movie) you will get a good sense of how some of us business travelers see the security checkpoint line and some ideas on how to through it quickly. Here are some things I do:
- Make sure you know the rules (e.g. 3:1:1 rule for liquids, or electronics rules, etc)
- Get TSA Precheck if you can
- If you don’t have TSA Precheck, then prepare before you get to the line. I take my belt off, store my wallet, 2nd phone, etc in my backpack BEFORE I enter the line. My pockets are empty except for my ID and Phone w/ Boarding pass on it. After getting the greenlight from the TSA agent I drop my ID and phone into my backpack. As I approach the bins I will unzip my laptop bag early for easy removal. When I hit the line, I am ready to go w/ minimal effort.
- Protip: Some airports make me take my belt off, some don’t. So I just take it off now no matter what.Â
- My shoes are not slip off, but they do slip off quickly w/ no untying. Easy on and off.
- I always grab two bins. It’s all I need. One for my laptop, one for my shoes.
- I stack the bins on top of each while on the table. Latptop bin on the bottom, shoe bin on the top.
- I keep my backpack and luggage OFF the table until the last minute. I figure save the space for everyone else, and it’s easier than trying to push everything along while you wait for the belt to catch it.
- I also try to pick the lines that have more business travelers in it. This is common sense. If you’ve ever been stuck behind a family who hasn’t traveled in 9 years, or college students who have no clue what’s going on, you quickly learn to seek out the pros. This doesn’t always work, because sometimes you get just get screwed.
- Also, some airports have their terminals connected, other’s do not. Some have less obvious security checkpoints or “hidden ones” that are just around the corner. Figure those out if you can. I’ve went through a United Terminal checkpoint because it was less busy than the Southwest Terminal checkpoint before because I knew the Terminals were connected. Make sure they are though, or you will be making a trip out and then back through security! Ugh!
- Protip: I am a bit of a germaphobe. So, I never stand on the yellow footprints outside the xray machine. I stand to the side of them. My little silent protest if you will, but also yucky sweaty feet. Gross.Â
- On the other side of the line, depending on the pace of the scanner I will either start putting some of my stuff back together at the belt or pick everything up and get the heck out there making room for others. There’s usually a bench or something nearby for you to put your life back together again.
Airport Travel Tips #6: Don’t Check a Bag
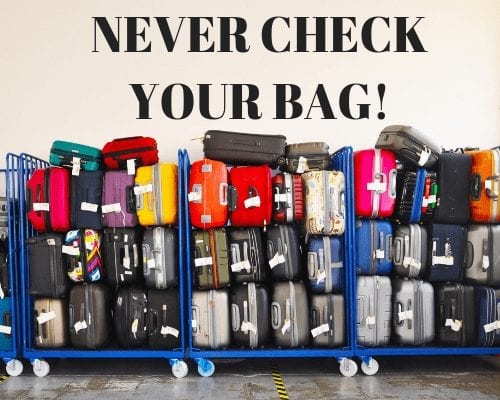

Interested in adding 30 minutes to your trip and gamble with the fates about lost luggage? Then check a bag.
Setting aside bag check fees (which ought to deter your enough), checking a bag means extra time at the front and back of your trip. You have to interact w/ staff to check it, and then you wait w/ the huddled masses for it to (hopefully) arrive on the baggage Carousel.
I confidently walk past all the schmucks waiting for their bags…and get the better rental car ahead of them or get to my bed that much quicker. This is actually Tip #4 in my 101 Travel Hacks for the Business Traveler.
Never check your bag.
Ever.
Seriously, don’t do it.
Airport Travel Tips #7: Square Away Your Luggage
If you aren’t checking your bag you now need good luggage! Something lightweight, but able to fit enough of your stuff into comfortably. Something that easily rolls through the airport and that easily fits into the overhead bin.
There are a TON of luggage options out there. My personal favorite these days is anything offered by TravelPro, but in particular the one I am using is the TravelPro Crew 11 (pictured).


I personally prefer a soft shell suitcase because it’s lighter than the hard case and unless you are doing international travel, the softer case will be just fine. If you are interested in learning more about the TravelPro Crew 11, check out my product review here.
The nice thing about a spinner is that it can sit up on all 4 wheels and doesn’t add extra strain to your arm when you pull it. You can always switch it to 2-wheel mode if you need to (like if you are trying to wheel your bag across a bumpy surface or thick carpet).
I like to set my backpack on top of it too so that I don’t have to carry it. Before hand, with a 2-wheeler it would have added that much extra strain to my arm.
Protip: if you get a smaller, more narrow spinner it will fit in between the aisles of your airplane easier allowing you to roll it up the aisle. Some of the larger (but still compliant) carry on bags have a hard time fitting between the rows and you look like a total goober jerking your bag off the armrests.
Bringing it home – final thoughts on Airport Travel Tips
With these airport travel tips you can optimize your airport experience on every single trip. Be sure to check out all of our great content!
If you liked this content, please share it on social media and click the “like” button below and / or tell us what your favorite airport tips and tricks are! Oh, and don’t forget to follow us on social media including Twitter, Instagram and Facebook.
By the way, if you are interested in more travel tips and travel advice, you might be like these great articles:
- 147 Business Travel Tips
- 11 Hotel Beds
- 31 Hotel Hacks
- 27 Hotel Pillows
- Southwest Airlines Early Bird Check In
- United Baggage Fees
- 26 Travel Gadgets you probably want
- Best Travel Blogs
- Gifts for Travelers
- Marriott Sheets
- Marriott Mattress Topper
- Mothers Day Gifts for Travelers
- Southwest Business Select
Pin These:


Â


Affiliate Disclosure: As an Amazon Associate I earn from qualifying purchases. I may also earn commissions from other affiliate programs as applicable.